[CAN 03] - Communicating to ESP32 with SocketCAN
SocketCAN Communication with ESP32
Previous Posts:
Code: [GitHub]
Hardware
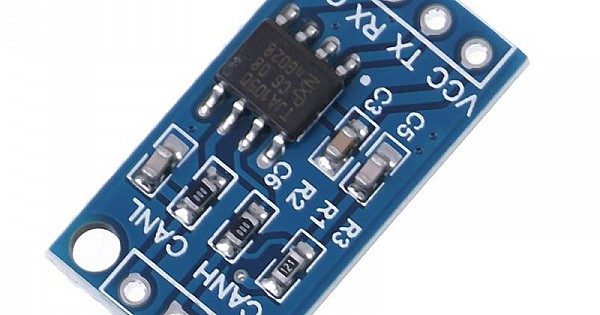
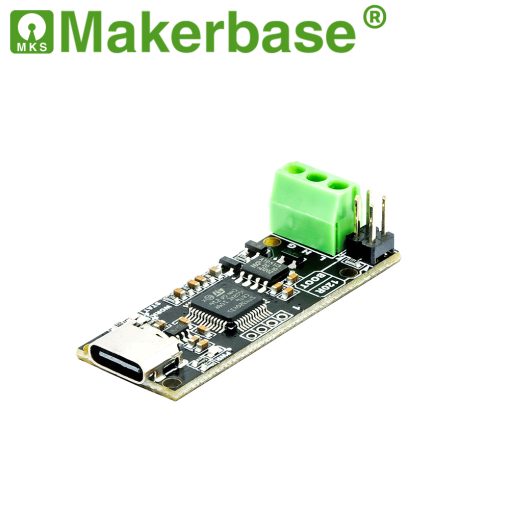
I will be using USB-CAN adapter to connect my Ubuntu computer to ESP32 with TJA1050 CAN transceiver. Since ESP32 already includes CAN controller, we only need CAN transceiver. Note that not every microcontroller comes with CAN controller, so you may need to use external CAN controller like MCP2515.


Setting up your ESP32 with CAN Transceiver
Supply 5V to the TJA1050 and connect the CANH and CANL to corresponding GPIO pins on ESP32. Any GPIO pins can be used as long as they have read and write capabilities. The default GPIO pins for CAN TX and RX on ESP32 are GPIO 16 (RX) and GPIO 17 (TX).
I will be using Arduino IDE to program ESP32 with Arduino CAN library which provides good high-level API for CAN communication.
You can add ESP32 boards to Arduino IDE by following the instructions here.
IMPORTANT! Note that there is a glitch that ESP32 cuts the baudrate in half. If you want to set the baudrate to 500 kbps, you need to set it to 1000 kbps (1 Mbps) in the code like this:
CAN.begin(1000E3);
If you want to resolve it add the following line to ESP32SJA1000.cpp in CAN/src in Arduino library at line 126
modifyRegister(REG_BTR1, 0x80, 0x80); // SAM = 1
writeRegister(REG_IER, 0xff); // enable all interrupts
modifyRegister(REG_IER, 0x10, 0); //brp_div will prescale BRP by 2. Only available on ESP32
Revision 2 or later. Reserved otherwise
Flash the code above to ESP32. If you get error message: A fatal error occurred: Could not open /dev/ttyUSB0, the port doesn't exist Failed uploading: uploading error: exit status 2, run the following command:
sudo adduser <username> dialout
sudo chmod a+rw /dev/ttyUSB0
Change <username> to your username and /dev/ttyUSB0 to your USB port.
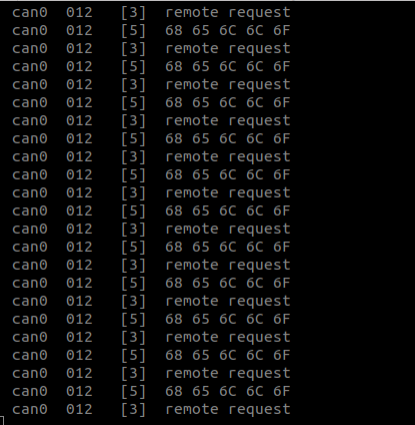
This code reads CAN messages and print them to the serial monitor. It also sends a CAN message with the data hello and RTR request every second.
If the CAN transceiver is connected correctly, ESP32 will fail to send the CAN message and get stuck in CAN.endPacket() function.
Reading CAN from Terminal
Set the CAN state to UP with a desired bitrate. Assuming you are using candlelight firmware, you can set the bitrate to 500 kbps by running:
sudo ip link set up can0 type can bitrate 500000
Open a new terminal and run:
candump can0

The CAN message data is in the hexadecimal format. You can convert it using ASCII table
68 65 6C 6C 6F => hello
Writing CAN from Terminal
Now let’s send CAN messages to ESP32. Using th ASCII table, we can find the hexadecimal value of hello is 68 65 6C 6C 6F. On the terminal, we can send the CAN message with desired ID and data with the following format: cansend [options] <interface> <CAN ID>#<data>
Run the following command on a terminal to send the “hello” CAN message with CAN ID 0x123 to ESP32:
If you didn’t connect your CAN transceiver + ESP32 to the USB-CAN adapter correctly, the TX buffer will be full and the CAN message will not be sent.
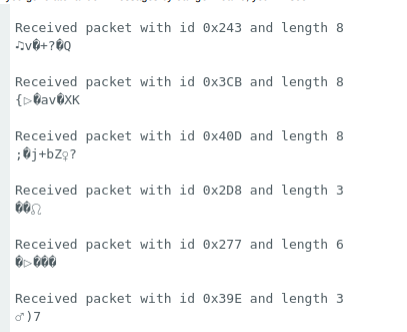
Upon sucessful connection, you will see the CAN messages received in the serial monitor of Arduino IDE.
cansend can0 123#68656C6C6F

Now let’s try to send random CAN messages to ESP32
Run the following command:
cangen can0
This command will start generating random CAN messages continuously.

Messages are not encoded correctly because canReceiver() function converts the data to char using ASCII. You can modify the function to print the data in hexadecimal format. Instead of Serial.print ((char) CAN.read());, you can use Serial.print (CAN.read(), HEX); to print the data in hexadecimal format.